I love teaching blogs. LOVE them. And I've never been exposed to so many great teaching blogs as I have since becoming part of TpT and Pinterest.
A wonderful blog I've discovered recently is Tonya's Treats for Teachers. Her blog is SO cute, and her products are really great.
She's currently having an amazing giveaway. Make sure to check it out!
Good luck!
She's also having a storewide 20% off sale. Make sure to check out these items:
http://www.teacherspayteachers.com/Product/Odd-and-Even-Math-Poke-game
http://www.teacherspayteachers.com/Product/Summer-Activities-to-do-list
And this following item looks great, and is even one of the prizes!
http://www.teacherspayteachers.com/Product/Writing-Workshop-process-posters-and-graphic-organizers
Monday, October 22, 2012
Thursday, October 4, 2012
Back to School Bulletin Board
For our back to school bulletin board this year, I decided to go with a bird theme. I came up with the title of "It's going to be a "tweet" year." Each child made their own bird to decorate the board.
We did the craft like a directed art lesson. I provided the students with the body shape, the head shape, and the legs. They drew and cut out the belly, the wings, and the beaks. They were also given the choice if they wanted their bird to be wide (by putting the oval side-ways) or tall by putting the oval standing tall (like a zero.)
I love how each bird is unique, and equally adorable!
Once the children were finished drawing, cutting, and gluing their bird together, I surprised them by saying that they could each choose some feathers to put on the head. They were really excited about that! I like to take any opportunity I can to make something into an event. By not telling them at the beginning that there would be feathers, it really hyped them up (in a good way!) at the end.
~Mrs. D
We did the craft like a directed art lesson. I provided the students with the body shape, the head shape, and the legs. They drew and cut out the belly, the wings, and the beaks. They were also given the choice if they wanted their bird to be wide (by putting the oval side-ways) or tall by putting the oval standing tall (like a zero.)
I love how each bird is unique, and equally adorable!
Once the children were finished drawing, cutting, and gluing their bird together, I surprised them by saying that they could each choose some feathers to put on the head. They were really excited about that! I like to take any opportunity I can to make something into an event. By not telling them at the beginning that there would be feathers, it really hyped them up (in a good way!) at the end.
~Mrs. D
Monday, October 1, 2012
Thanksgiving Turkey Freebie
Thanksgiving is such a fun occasion at home and at school. I have made a little Thanksgiving turkey freebie activity for you to use in your classroom this Thanksgiving. Just print out, and have your little ones color according to the sight words.
For early learners, I like to colour-code on top of the words so that there is no confusion as to which word should be which colour. I hope that little tip helps you and your students. Happy Thanksgiving!
Wednesday, September 26, 2012
Amazing Giveaway!
I love keeping my teaching resources current and exciting for the students. I'm so invigorated this year by all of the new resources and ideas I'm getting via Pinterest, many amazing teaching blogs, and Teachers Pay Teachers.
A few of my favourite finds recently are: Book Buddy Decoding Strategy Posters by Mrs.H , and Zoo or Jungle Animal Roll and Cover Addition and Subtraction Games by by Jennifer Knopf.
Jennifer is running an amazing giveway from her blog at Herding Kats! Check it out here: http://herdingkats.blogspot.ca/2012/09/happy-fall-yall-giveaway.html
By entering the giveway, you'll be exposed to so many wonderful blogsites and stores. You won't regret it.
But...I hope I win :)
Happy Teaching!
Monday, September 17, 2012
Book Baskets and Labels
Organizing with baskets and labels is so much fun and makes such a difference in how a classroom looks. I used to store my home reading books in a bunch of mismatched and broken baskets. I'm somewhat ashamed of how they used to look! I put a stop to that, and bought a bunch of coordinating baskets to use for my A-Z home reading books.
My classroom has a blue, lime green, and black colour scheme, so my baskets had to fit in! When I found these baskets at the dollar store, I knew I had to have them!
It was really easy to put together these baskets.
1. Buy or collect baskets. I used woven baskets from a local dollar store.
2.Print labels. I got these *free* labels from Miss Kindergarten. You can find them at her TPT store here. The labels are blank, so you can customize them however it works for you. I used the free for commercial use font called Schoolbell. I laminated the labels.
3. Assemble the rest of your supplies. I found it easiest to attach these labels to my woven baskets by using pipe cleaners. I made a template for my hole puncher so that I would punch the holes at the same spot on each of my labels. It would have been easier to use a one-hole puncher, but I put these together at home and I only had a three-hole puncher.
4. Cut the pipe cleaners and attach on the inside of the basket.
5. Voila, beautiful, cute, and colourful book baskets! I will add a photo of all of my book baskets on their shelf later.
While I was working on these baskets I looked at my son who was having a snack in his high chair next to me in the dining room. I thought it was pretty funny how colour-coordinated he was with my project!
Thanks for reading!
Sunday, September 9, 2012
Classroom Tour 2012
I am so excited to share my 2012 classroom set-up. It's not completely done, as I still have more organizing to do, and I haven't set up my word work boxes or math work stations yet. But the school year is underway and the basic set-up is taken care of.
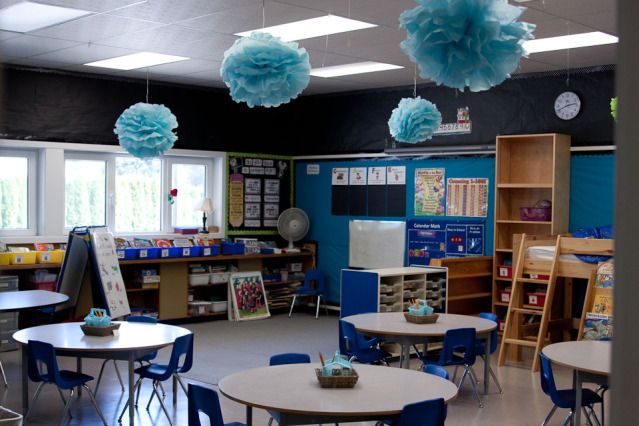
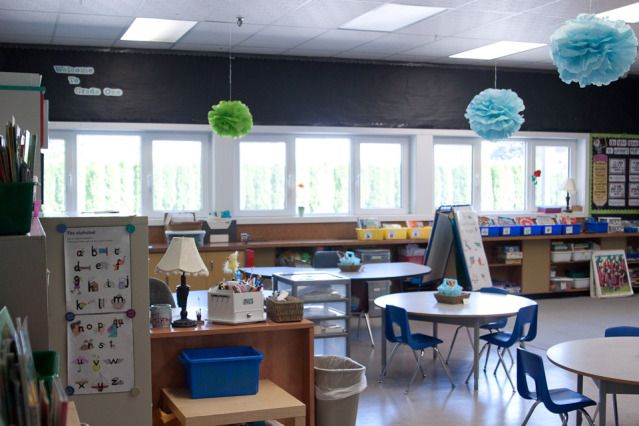
Here is the view of my classroom from the main door. The black wall above the windows will soon showcase student artwork!
Here is a slightly different view from the same door, where you can see the teacher desk.
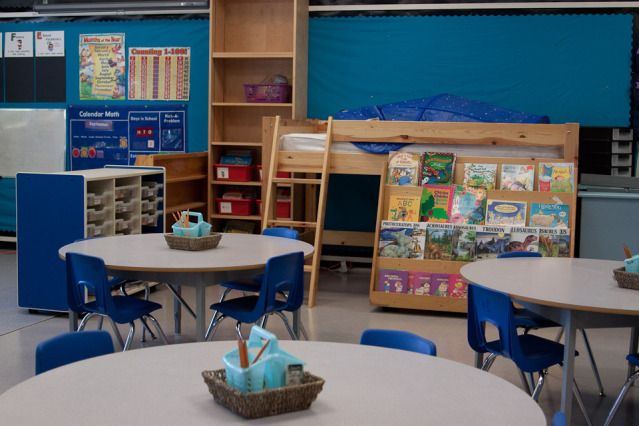
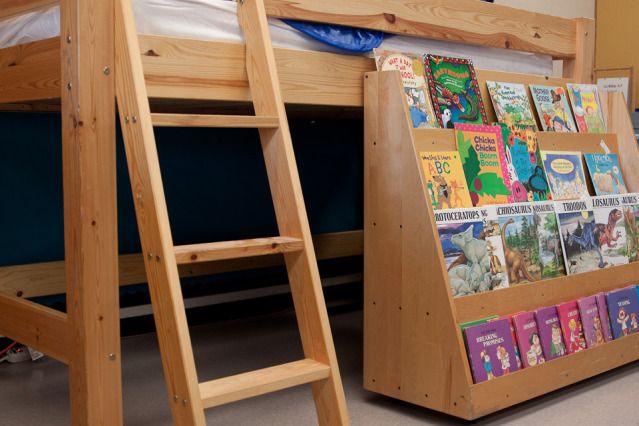
This is my "pride and joy" this year. I have added a reading loft to my room. It is simply a loft bed that was donated to me by a neighbour. I asked the principal for permission to use this loft bed in the classroom. It is not open yet, as I will first put a canopy over the loft to prevent students from being able to stand up. One child will be able to use the reading loft at a time, and only when a teacher is present (not during lunch time or indoor recess).
The great thing about a reading loft like this is that not only is the top a fun reading spot, but underneath will be a favourite reading spot as well! I will be adding carpet and hopefully some pillows under here as well.
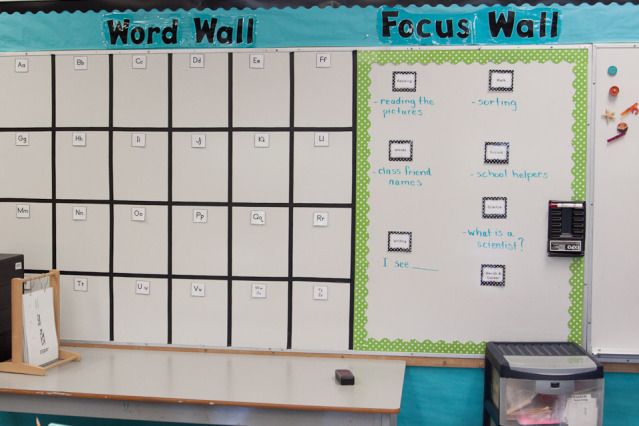
At the front of the classroom I have two whiteboards. I use one whiteboard for a word wall and focus wall, and the other for general purposes. I like the ease of using a whiteboard for the word wall and focus wall. I have my words printed onto magnets, but if I want to add additional words such as students' names, it's easy to just write it in the appropriate spot with whiteboard marker.
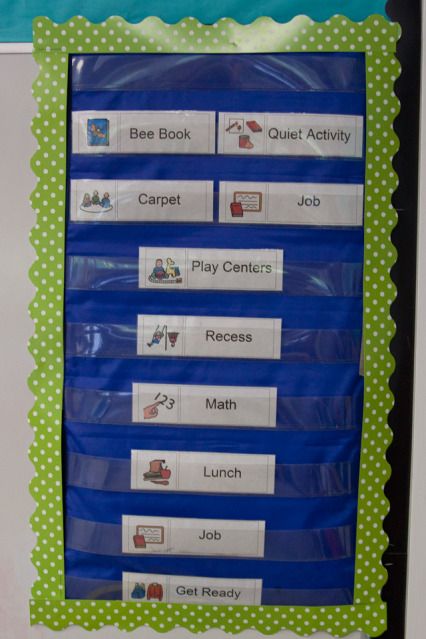
Close to the door I have our daily schedule. It is quick and easy to change.
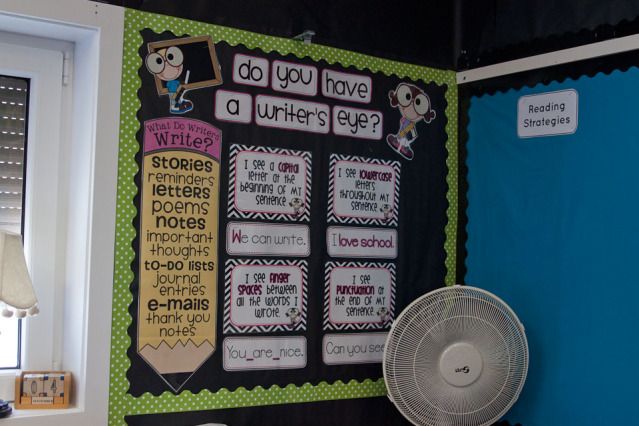
At our carpet meeting area I have posted a Writing board. (I really need to move that fan, but it's been really hot the first week of school!) Thank you to First Grade Parade for providing the free download of "Do You Have a Writers Eye?"! I also love the pencil chart that is from The Teacher Wife. You can download the pencil from here!
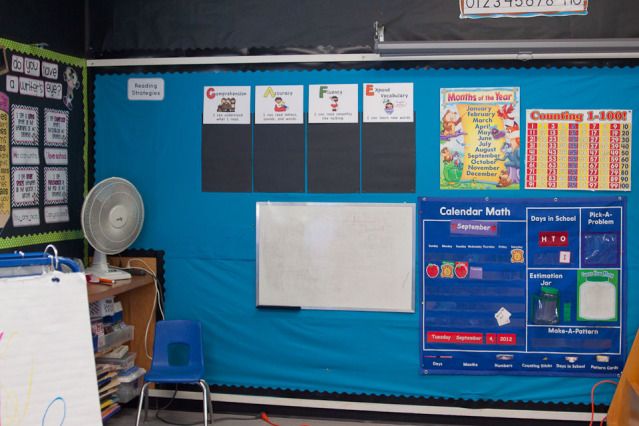
Our CAFE board starts off blank, and then we will add our reading strategies as they are taught.
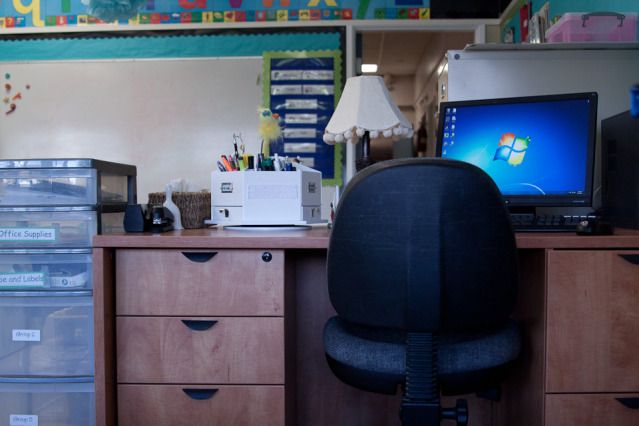
And last but not least is the teacher desk.
I hope you enjoyed my brief classroom tour. I will add more pictures soon!
Monday, August 6, 2012
Classroom Tour 2010
This is my classroom as of September, 2010. I was off on maternity leave for the 2011-2012 school year, so these are my most recent photos of a classroom set-up. Once my classroom is ready for me to go back in and get set up, I'll post new pictures. I want to make some changes to my room this year! My main colour theme will remain, but I have some fun plans! Stay tuned!
| View from the main door. The black paper on the top is used to display student artwork. I would like to move the guided reading table to a different spot for 2012-2013. |
| Part of my library. The 25 empty plastic bins were used without the lids as the students' reading boxes. |
| Small group table and teacher desk (and a bunch of mess on the back counter!) |
| More of the library, and word work drawers. I will re-purpose these drawers this year and store my word work differently. |
| Math manipulatives and toys |
| Teacher Desk and Computer. |
| Daily schedule board. (Created with Boardmaker) |
My goals:
1) Get more natural boxes/baskets
2) Add another accent colour
3) Reorganize Word Work
4) Install a Reading Loft
5) Rearrange room for a better placement of guided reading table
6) Eliminate Clutter
Subscribe to:
Posts (Atom)